Showing posts with label recipes. Show all posts

Sunday, October 2, 2011

He thinks I'm pumpkin crazy.

Hello October, and hello breezy, chilly air!  The past couple days have been quite chilly in NC and I am LOVING it.  Though I must admit that it makes me yearn for a bonfire, toasted marshmallows and a hayride.  Maybe before the season is over I will accomplish at least one of those things.  In the mean time, Daniel likes to think that I have gone pumpkin crazy!  I have made these  pumpkin chocolate chip muffins several times this season already-- a few batches just for us, one batch I took to a Mom's Night Out shindig, and one batch I shipped overseas to my brother-in-law in Iraq.  (Praying they're fresh when they arrive.) 

Now in the past week I have discovered 2 more pumpkin recipes.  One is a pasta recipe.  Last week when I went grocery shopping I spotted the October Rachael Ray magazine.  Dave Ramsey would call this an impulse buy, but I am choosing to call it an investment in my appetite.  I used to be crazy for her, but now that she has "made it big", has at least 5 different television shows that currently air, and her talk show is more about celebrities than cooking, I'm not as big of a fan.  Though I must say that around this time of year, each year, her magazine always draws me in.  I bet she has statistics to show it too-- I specifically remember purchasing the September or October catalog last year with a spread on recipes for apples.  Something about those red and orange colors, and the comfort foods of this season-- she must have a fabulous marketing team. So as I was flipping through I found a recipe for a pumpkin pasta.  She calls it "Pumpkin Patch Stuffed Shells."  The original recipe calls for ground beef, pumpkin, pasta shells, and spinach.  I tweaked it a little more to our liking and will share it with you. (Though, feel free to grab the magazine or look up her version, we preferred chicken and more cheese.)

Pumpkin Patch Pasta my way:
  • Salt and Pepper
  • Olive Oil
  • Jumbo pasta shells (not a full box, I used around 25)
  • bag of fresh baby spinach
  • 4 tbsp butter
  • 1 onion chopped
  • 4-5 chicken breasts baked and shredded
  • 2 cups shredded cheddar
  • 2 cups milk
  • 1/4 cup flour
  • 3/4 cup pure pumpkin
Start by of course baking and shredding your chicken.  You want to get your chicken into pretty small bits so that you can stuff your shells with everything.  Boil your pasta shells to al dente and strain.  Cover them in the strainer, or in back in the pot with a wet towel so they stay moist.  Cook your baby spinach in a bit of water for a few minutes or until it wilts.  Drain the spinach, put it in a towel and really ring it out with all your might.  Chop the spinach so  you don't have a spinach clump. Cook your chopped onion in a bit of olive oil for about 7 minutes.   Add in your cooked chicken and mix.  Remove your pan from the heat and throw in your chopped spinach and 1/2 cup cheddar cheese.  Mix well and let sit to cool.  Heat 2 cups of milk in the microwave.  In a saucepan, melt 2 tablespoons of butter, whisk in the flour and cool for a minute.  Then whisk in your milk a little at a time.  Bring the mixture to a boil and whisk for a minute.  Remove your milk mixture from the heat, add the rest of your cheese and your pumpkin.  Grease a 9x13 pan and smear about a 1/2 cup of your cheesy pumpkin sauce in the bottom.  Stuff your shells one by one with the chicken and spinach mixture and place into your pan open side down.  Once all of your shells are stuffed, pour the remainder of the cheesy pumpkin sauce over the shells.  Bake at 400 degrees for 25 minutes, then let cool.  

When I told Daniel what all was in the pasta, he was hesitant to try it.  He literally put 2 shells on his plate because he was worried he wouldn't like it.  He said that he had only ever had pumpkin in sweets and it was weird that it was in dinner.  Well, let's just say he ate his words-- he LOVED the pasta!  Sweet victory!  It truly was delicious.  The pumpkin was very mild in the dish, but to me it was comforting to know it was there.

The next pumpkin dish was pumpkin (sort of) pancakes.  The pasta recipe didn't use up a full can of the pumpkin and I couldn't let that last bit go to waste.  I found a recipe for scratch made pancakes and attempted to tweak it.  I have never made pancakes from scratch.  I wanted to make them with wheat flour so I went in about half and half on wheat and white flour.  Added pumpkin and added spices like cinnamon and nutmeg along with some vanilla.  They were ok.  Nothing to write home about and not a recipe to share without tweaking some more.  They turned out SUPER thick, but they had nice Fall flavors to them.  And Leeland went nuts for them.  Maybe that will be something that I try again at another time with an actual recipe.

Tuesday, September 13, 2011

Pumpkin Chocolate Chip Muffins

You may remember my rant about loving Fall and all things pumpkin in this Fall Fever post. Tonight I shall share with you my recipe for pumpkin chocolate chip muffins.  There are SO many recipes out there for these, and many people claim that theirs is the best.  I haven't tasted enough to know if my recipe is the best but I know that 24 muffins in our little house of 3 (keep in mind Leeland is only 17 months old) only lasts about 2 days.  Plus, from being married to Daniel for so long, a pickier eater and one who orders the same thing off the menu every time we go to a restaurant, I have learned, "if it ain't broke, don't fix it."  Seriously though, one of the things that I love about this particular recipe is it's simplicity.  I can whip them up in no time and they don't require a ton of ingredients that will break the bank. (This recipe makes 24 muffins) So here it goes:

Pumpkin Chocolate Chip Muffins
3 1/3 cups flour
2 cups sugar
2 tsp pumpkin spice*
2 tsp baking soda
1/2 tsp baking powder
1/2 tsp salt
2 eggs
1 can pumpkin**
1 cup butter
2 cups chocolate chips***

Super easy recipe-- Preheat your oven to 350 degrees.  First mix all of your dry ingredients in one bowl, and then in a separate bowl you mix all of your wet ingredients.
*Note about pumpkin spice-- spices are expensive, and times are tight.  A perfectly good substitute that I have used for the pumpkin spice that turns out fabulous is a dash of ginger, a couple dashes of nutmeg, and a few dashes of cinnamon. (That's more like a ratio, just make sure all those dashes add up to 1 teaspoon.)
**Note about the pumpkin-- make sure you are using pure 100% pumpkin. You don't want to use pumpkin pie filling, that is different and has sugar and stuff already added to it.

Once both are mixed, mix them together and add your chocolate chips. You shouldn't even need to bust out the electric mixer.
And your gonna want to mix the chocolate chips in.... :0)
***And a note about the chocolate chips-- the recipe calls for 1 cup. Honestly I use the whole 11 ounce bag of chocolate chips.  There is no shame in a little extra chocolate!  We use milk chocolate chips, I'm sure that others may work just as well. To each his own and to each his own taste.

After that, you just add the mixture to your greased muffin tins (or you could use cute little wrappers).  And you bake them for 20-25 minutes or until a toothpick comes out clean.  Or if your cheap like me, and don't buy toothpicks, bake them until a chop stick comes out clean. Yes that is how I test all of my baked goods are done.
Toothpick? Chop stick? Same thing right!


Happy baking everyone! Enjoy your tasty pumpkin treats!!

Friday, September 9, 2011

Melissa's Chicken Pot Pie

One of the best gifts that I received when I had Leeland was meals. It's something that Daniel and I really didn't think about, but when we got home from the hospital with Leeland, we were so sleep deprived and overwhelmed that we had a lot of junk to eat. Jimmy John's one night, Chick-Fil-A another, Papa John's the next. (Not that those things are bad in moderation, but every night is a little excessive.) In hindsight, this was probably something we should have prepared for and had some dishes frozen away.  So back to the best gift-- 2 of my dear friends brought us a few meals!  Those nights we ate like champions!  (For real!) One of those recipes I'm gonna share with you today. My dear friend Melissa's chicken pot pie. It's one that has definitely become a staple around our house--something that I can easily put together the night before, or during nap time and then just bake it off when we're ready to eat.  I've even passed it along to many of my friends who have had children. 

Chicken Pot Pie
  • About 3 cooked and shredded chicken breasts
  • 1 can cream of potato soup
  • 1 can cream of celery soup
  • 1 can cream of chicken soup
  • 1 can Veg-All drained
  • 1 box of 2 roll-out pie crusts
I usually bake my chicken with a little salt and pepper and then shred it with 2 forks in a bowl while it's hot. Then you mix all of the chicken with all of your canned products. As far as the canned products go, I will say that usually buy the healthier choices if there is one-- low fat and low or no sodium. (I haven't noticed a difference in taste with these.)  Roll out one of your pie crusts into your pie dish, then fill with your chicken mixture.  Top with the second crust and tuck in your edges to the best of your ability-- make it look like a pie.  You're going to want to cut a few slits in the top so that your pie can breath.  At this point if I am making it ahead, I throw some foil on it and pop it in the fridge.  
When it's time to bake your pot pie, heat your oven to 425 degrees. If it is has been in the fridge prior, then I usually bake it in the oven WITH the foil on for about 20 minutes, then remove the foil and bake for 20-25 minutes or until your crust is as golden as you like it. If you haven't refrigerated it, you can probably get away with just the latter bake with no foil. 
Also, if you're making it for someone, I usually make it and refrigerate it with foil and then give them the baking instructions, so they can make it when they want it. 


And then you just enjoy your tasty chicken pot pie!!  Thank you to both Melissa and Alisa for making meals for us after Leeland was born, and sharing the recipes with us too! (Do we get more after #2 is here?? Just kidding.)  Happy cooking!!

Monday, June 13, 2011

Days at home.

     I intended to post this weekend and then I didn't get around to it-- I was thoroughly enjoying my time at home with my little man. Please forgive me but I LOVE my weekends! I have come to look forward to those 3 days a week that I am off work and can be full-time Mommy. It really makes me miss being a stay-at-home Mom. Some may think I'm being too whiny considering I only work 20 hours a week, but that's 20 hours a week, a little over 80 hours a month and 1040 hours a year that I am missing with my sweet little boy.... And that's not even counting drive time! 

     I also would like to add that on my days at home, I get a ton more done! I feel like I'm actually being the homemaker I'm supposed to be and capable of being. Catching up on laundry, cooking home cooked meals that include dessert! It may some weird to some, but it's what keeps me ticking, what I yearn to do, what I feel like I was made to do!

    Without further ado, here's our dinner Saturday! I made Rachael Rays "Harvest Moon Macaroni". It's kind of become a favorite, and it's a SUPER easy way to add veggies to your diet, or your toddler's diet (or husband's) without them knowing. It's a butternut squash sauce with cheese (of course!) and macaroni.
Butternut squash pasta sauce!
The finished product--minus some ;0)
    The beauty of cooking is that you can "tweek" recipes and make them your own.  Our family doesn't have dinner without a protein, so I baked some chicken, shredded it with 2 forks and threw it into the macaroni as well. It was super yummy.  I was also thinking I could hide even more veggies in it, but didn't have many on hand.

And for dessert...... CHOCOLATE CHESS PIE!!!! We LOVE chocolate! And I'll share the recipe with you!

Ingredients:
-1/4 cup of butter                                           -pinch of salt
-2 squares of Baker's unsweet chocolate       -1/2 cup of milk
-1 1/2 cups of sugar                                       -2 eggs
-1 tablespoon of flour                                    -1 teaspoon vanilla extract
-1 unbaked frozen pie crust

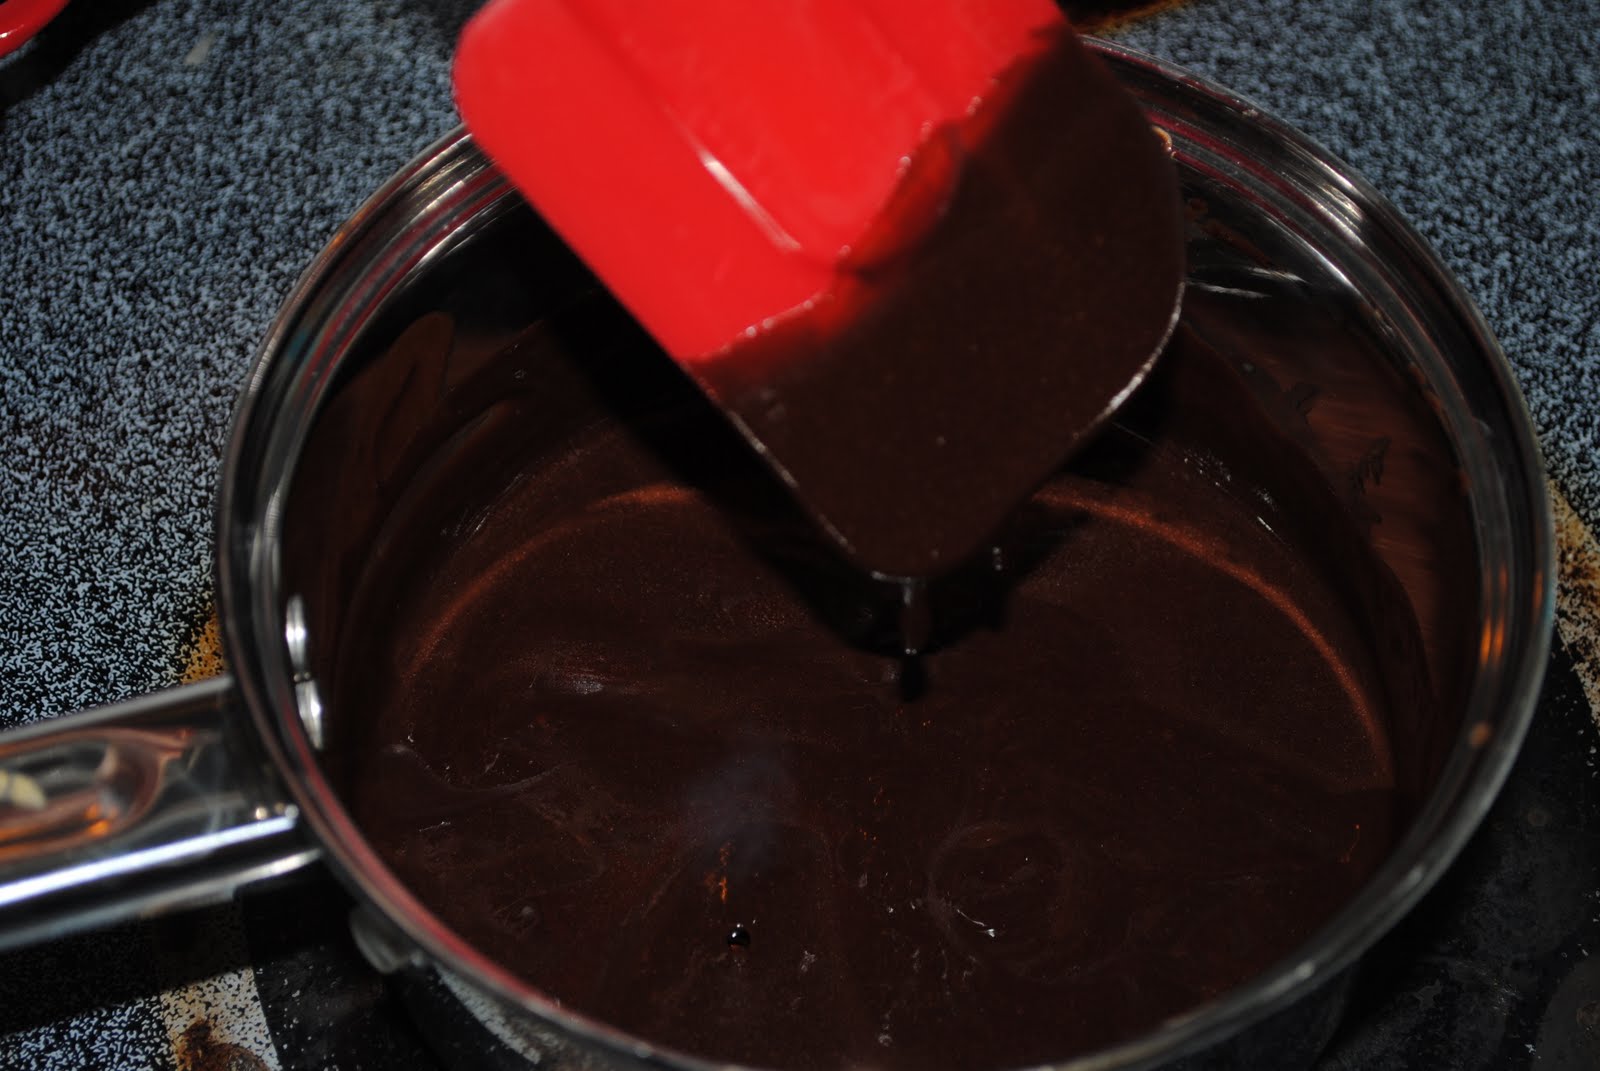
First melt the butter and the chocolate in a small sauce pan.
If this weren't unsweet, I'd be all over that pan.
Once your chocolate and butter are melted, add them to a bowl and add your dry ingredients. Mix a little so that the mixture cools before adding your eggs. Then add your wet ingredients and mix. Once it is mixed, beat on medium speed 5-6 minutes.
This is just after it's mixed

After 6 minutes of beating. That time makes a HUGE difference. Makes the batter fluffy like pudding :0)
Pour the batter into your pie crust and bake at 350 degrees for 35-45 minutes or until the pie is set.

The pie will rise...

and then the pie will fall....
I have made 2 of these pies this weekend and I haven't figured out why they keep falling, but they do. Regardless of what it may look like, looks don't really matter, the pie tastes pretty darn heavenly!!

Wednesday, June 8, 2011

Care package + Recipes

  Shipped out a care package to my brother-in-law today. He's deployed overseas. He's been there for about 3 weeks now-- and though it's still a little soon to send surprise packages, because of his travels there he may not be able to receive mail in another month or so. :0/

  My brother-in-law Nate is the one person that I can count on to absolutely love everything that I bake-- before he was deployed we talked about me sending him cake. I think he may have thought that I was joking, but I totally wasn't! So today we shipped out some apple cake and some peanut butter, chocolate chip, M &M cookies.... That's not 3 different types of cookies, that's just one cookie that is all those things. I didn't come up with them, but I've been calling them double the goodies cookies.

  I got the idea from i am baker, you can find the post here. Essentially you mix Betty Crocker peanut butter cookie mix and Betty Crocker chocolate chip cookie mix and then you can add in whatever you want. (Mix according to package instructions). I added in colorful M&M's. i am baker added in some more chocolate chips, white chocolate chips and she used all blue M&M's! Super easy and SUPER delicious!!!

  Another thing that made the cookies super awesome was that I got a new cookie scoop thing-a-ma-jig. Something like these:
I can't believe that I have been baking all this time and never owned a cookie scoop! This thing is a life saver-- it makes perfectly uniform cookies without a mess and they were thicker and looked amazing!

The other thing that I sent to Nate was Apple Cake! It's one of his favorites-- it's super tasty and moist every time I make it.  I got this recipe from my Granny-- it's another simple one, it starts with boxed yellow cake mix. So here it goes:

Apple Cake
Ingredients:
-1 box yellow cake mix                 -1 tblspn all purpose flour
-3 eggs                                           -1 tblspn butter
-1 can apple pie filling                   -1 teaspn cinnamon
-3/4 cup packed brown sugar        -1 cup chopped walnuts
Preheat oven to 350 degrees
Grease and flour your pan-- I use a 9x12 (or 9x13).
In a large bowl, mix together cake mix, eggs and apple pie filling. Pour into the prepared pan. Combine brown sugar, flour, butter, cinnamon and walnuts. Sprinkle over the top of your apple cake batter.  Bake for 35-40 minutes until toothpick comes out clean. 

Until next time, happy baking loves!!